.svg)
Learn to Solve a Rubik's Cube
Follow this step-by-step guide to solve your first Rubik's Cube!
Understand the Notation
Each face of the cube is represented by a letter:
R - Right | L - Left | U - Up | D - Down | F - Front | B - Back
A single letter means a 90 degree clockwise turn. Adding ' means counterclockwise (e.g., R').
Double letters (e.g., R2) mean turning the face 180 degree.
Step 1: Make a Daisy
A daisy is when four white edge piece around a yellow center
First, put the yellow center at the top.
Now, keep repeat these two steps
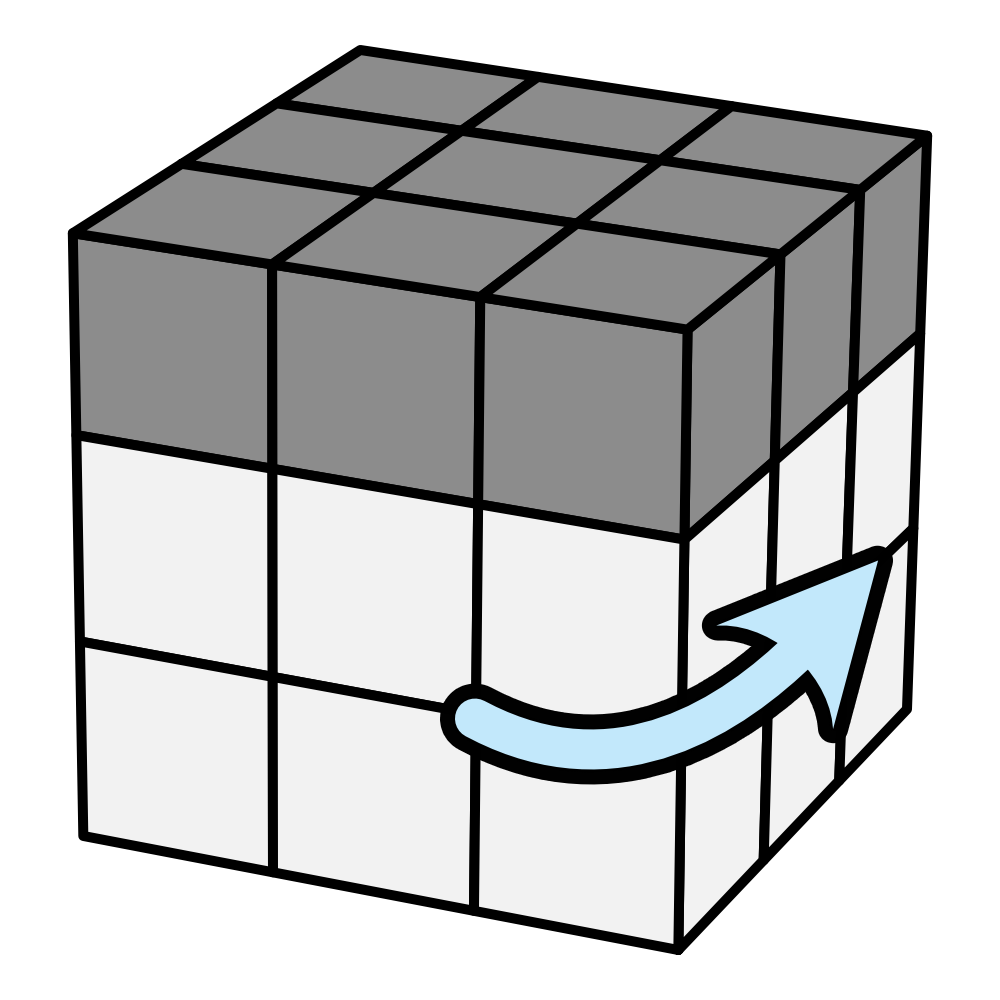
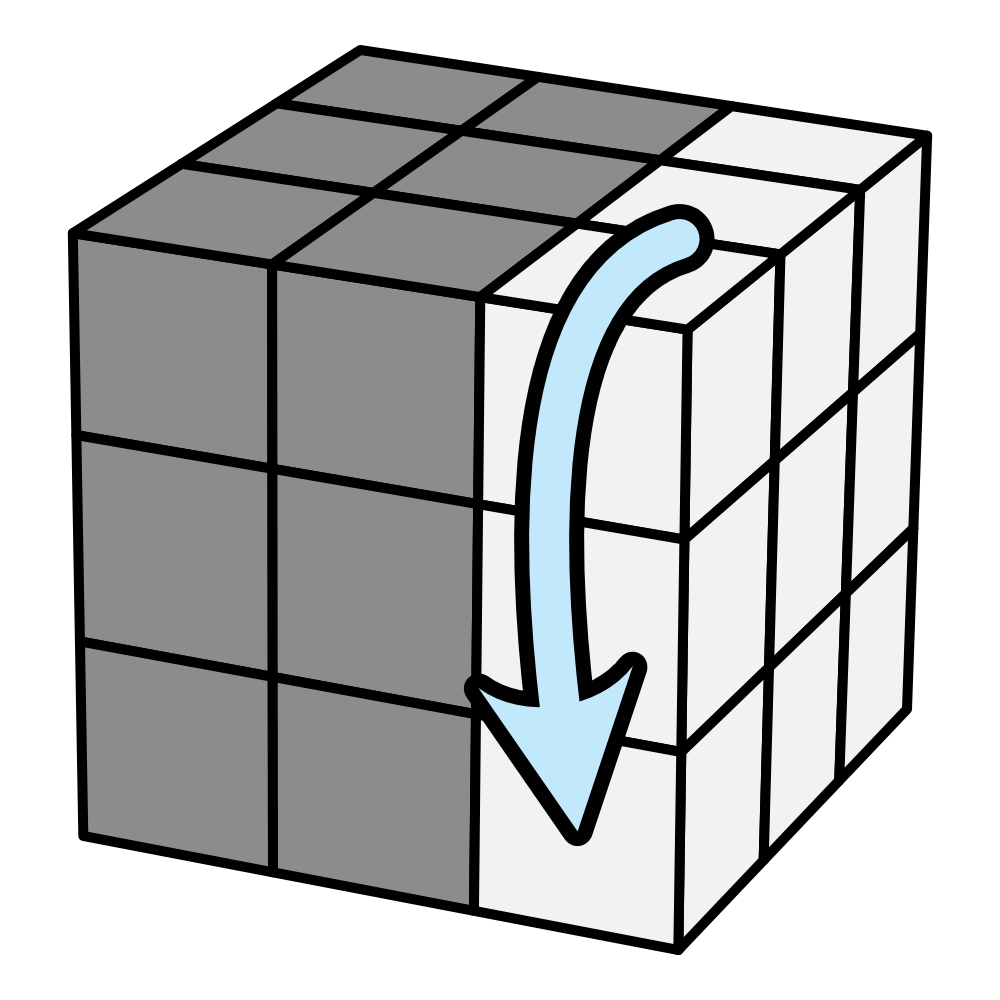
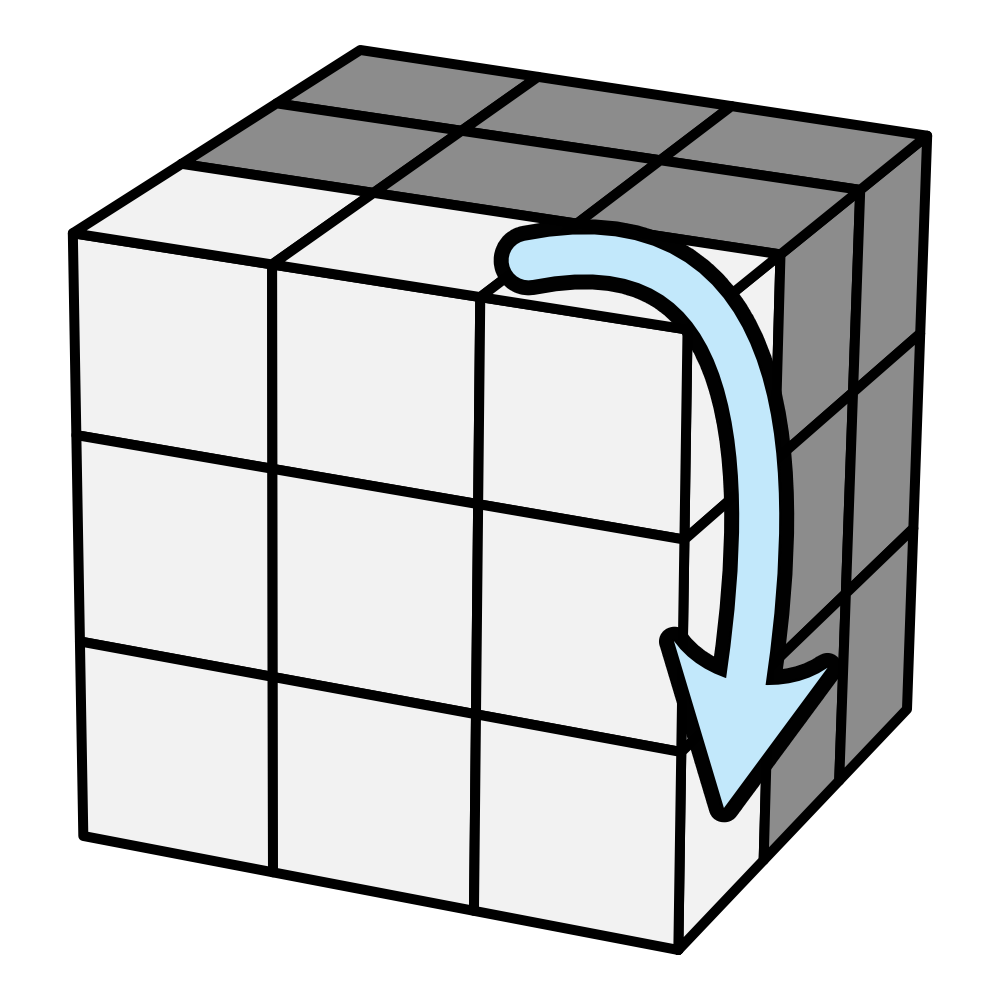
Once you see a white edge on your right, IMMEDIATELY stop, and then do an R
Well Done! You've done your first petal of your daisy. There are a total of 4 petals, so repeat this process 3 times.
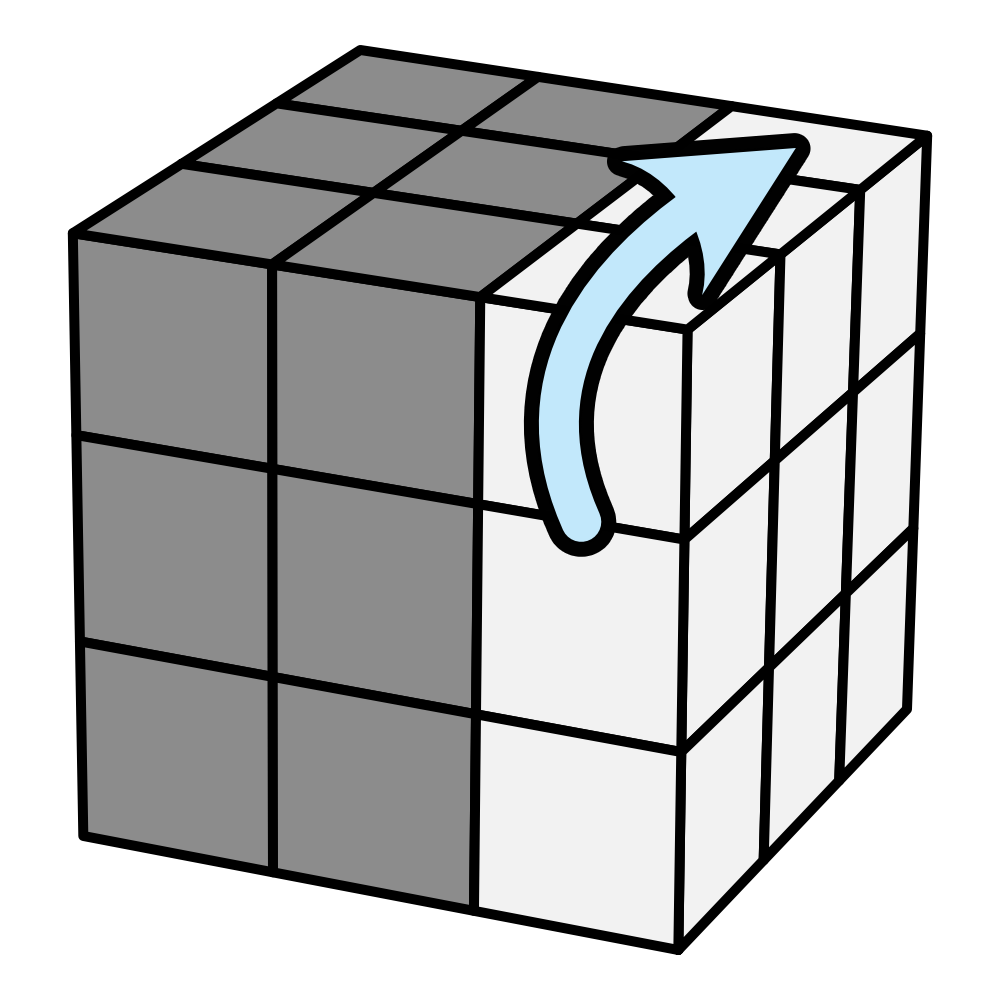
Step 2: Solve the White Cross
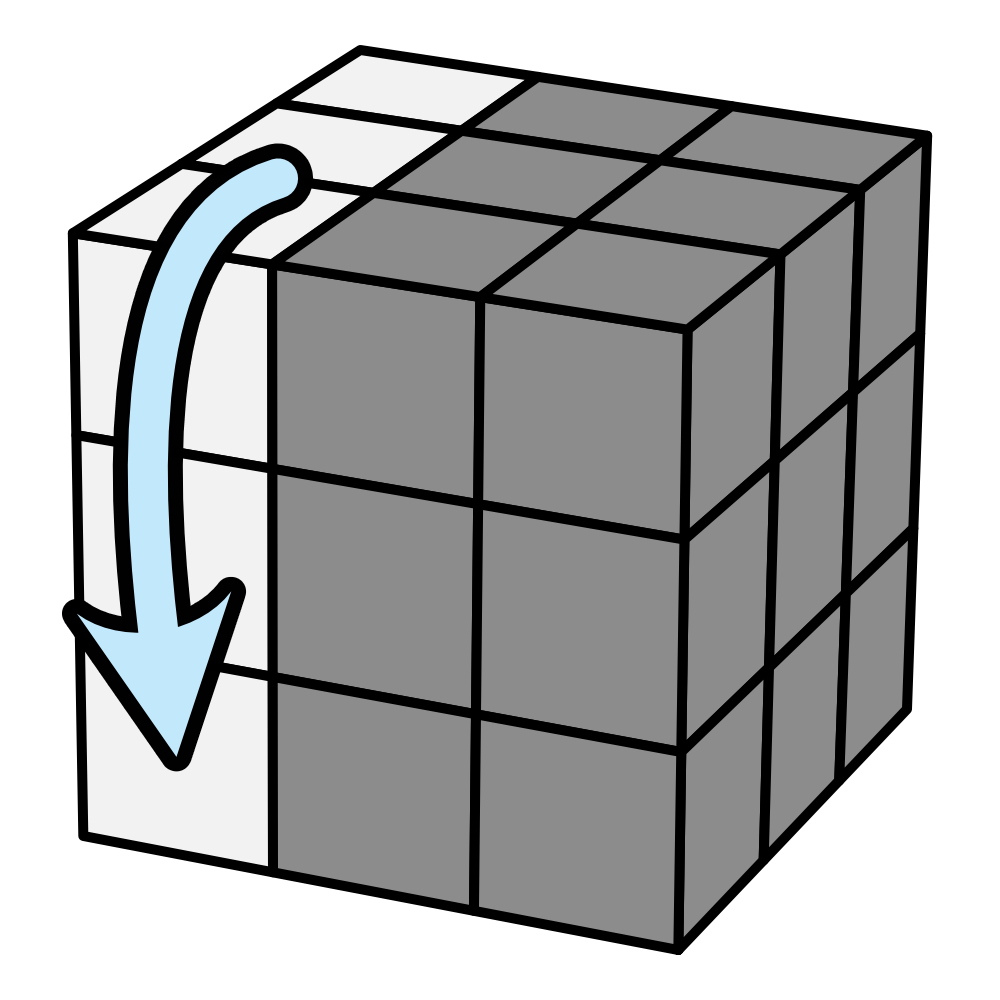
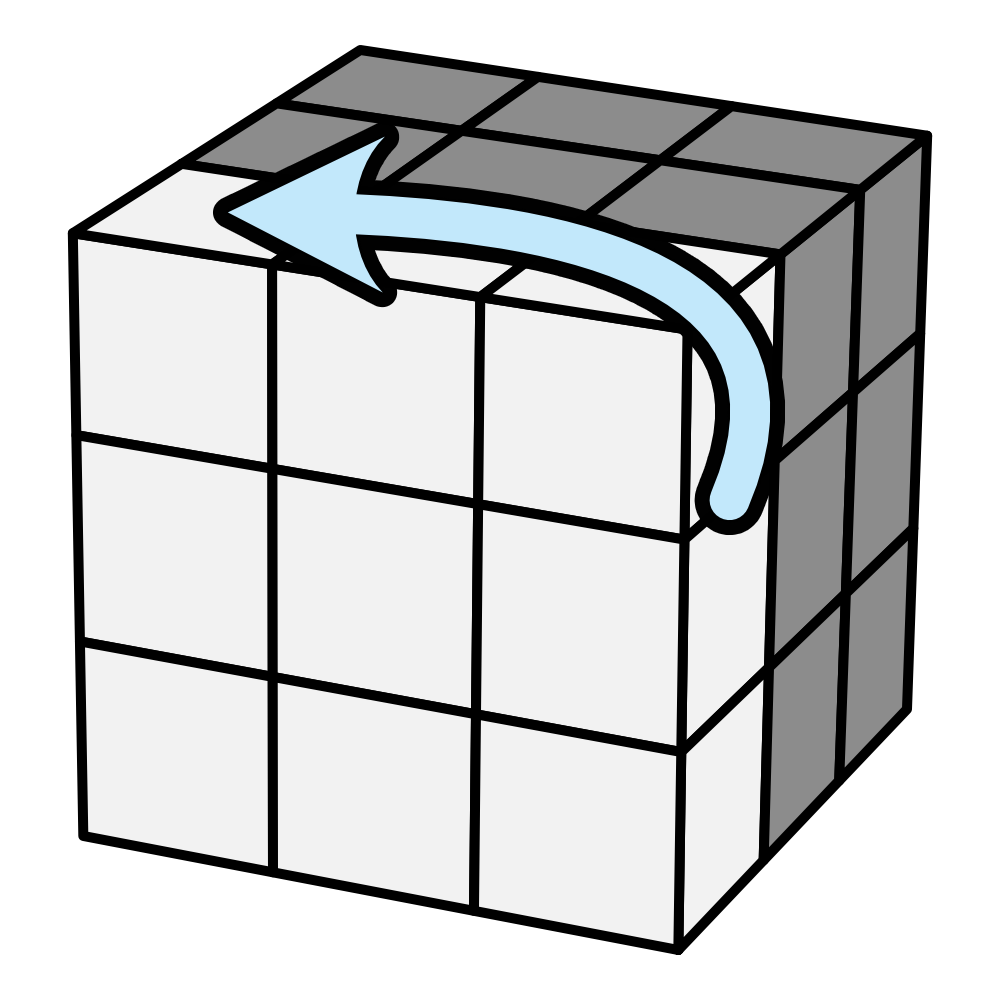
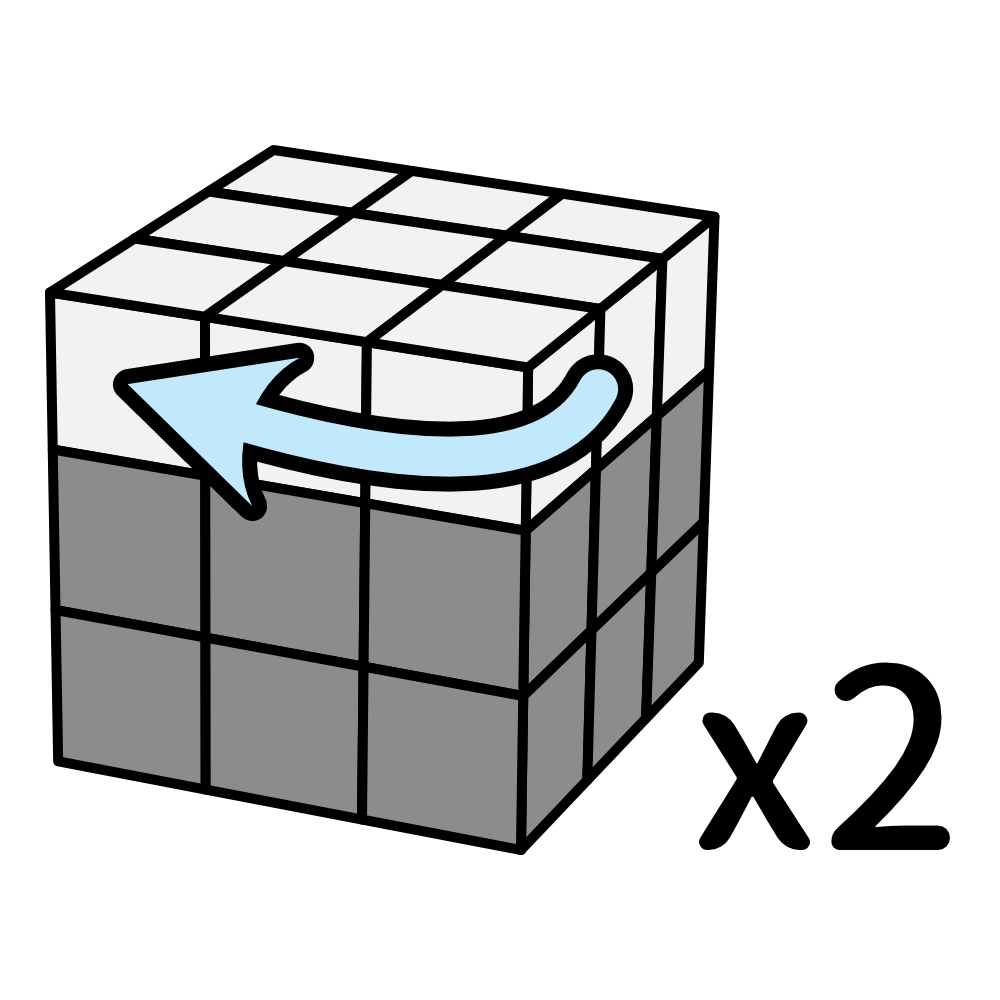
First, put the daisy at the top, and do Dw to align the yellow edge piece and center piece.
Once you aligned the edges with the correct centers, do:
F2

Step 3: Solve the First Layer
Find a white corner piece in the bottom layer and position it under where it should go.
Use the algorithm repeatedly until the corner is in place:
R U R'
If the piece is stuck in the wrong position, move it to the bottom and try again.
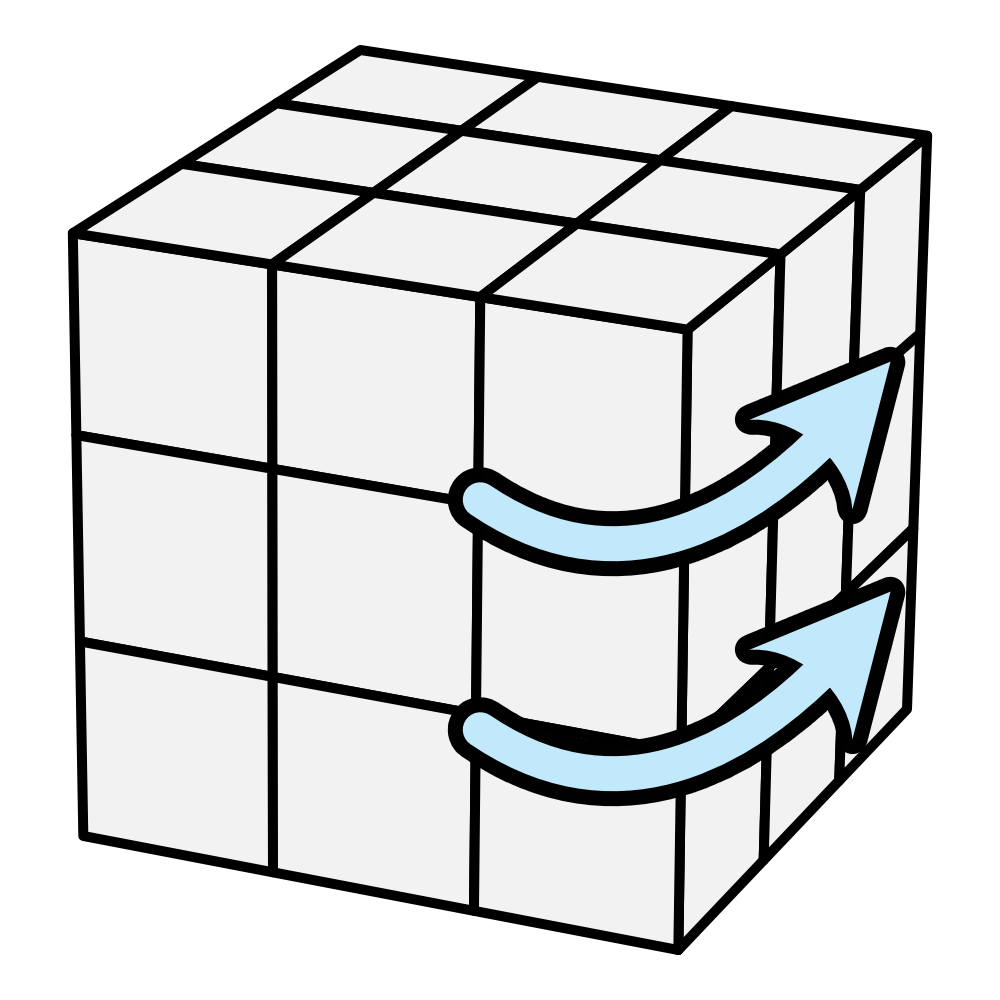
Step 4: Solve the Second Layer
Locate the edge pieces (without yellow) that need to be inserted into the second layer.
If the edge is on the top layer, use one of these algorithms:
For moving left: (U L)x3 (U' L')x2
 3 Times
 2 Times
For moving right: (U L)x3 (U' L')x2
3 Times 2 Times
If its not on the top side, put it on your right and do The Right algorithm, the piece will go to the top.
Step 5: Make a Yellow Cross
Check the yellow face pattern:
If no yellow edges are correct, use: F R U R' U' F'
If an L shape appears, position it on the bottom right corner and use the same algorithm, and a line will appear.
If a line appears, use the same algorithm with the line horizontal.
Step 6: Solve the Yellow Corners
After you've done the yellow cross, you'll want to do the yellow corners.
If you only have 1 yellow corners that is done, put it at the top right corner.
If you have 0 yellow corners that is done, just do the algorithm, and there will be some yellow corners.
If you have 2 yellow corners that is done, put them at the bottom, and do the algorithm.
R U2 R' U' R U R'
You should need to do it multiple times to get all of them in the right direction.
Step 7: Solve the Yellow Corners
After you've done the yellow face, you'll Find out the top layer aren't done yet, now, you'll want to find a pair of Yellow Edges with same colour, on the same side.
If there aren't any, just do the algorithm once, and you'll find a pair.
This algorithm is a bit long, so be careful not to mess things up. You can also watch this video to make it easier.
R U2 R' U' R U2 L' U R' U' L
Step 8: Solve the Yellow Edges
After you've done positioning the yellow corners, you'll want to do the yellow edges.
If you only have 1 yellow edge that is in the right place, put it at the face at the back.
If you have 0 yellow corners that is done, just do the algorithm, and there will be one.
R' U' (U' R')x3 (U R)x2 U' R
()x3()x2
Sometimes, you need to do it twice.